I decided how I wanted to finish up my little mice designs pretty early after completing my first one. I wanted them in clear baubles to go on my sister's Christmas tree if she has one this year. (Otherwise to a friend or two who will)
I had an (admittedly very quick) look through the local shops but couldn't find what I wanted for the baubles. Though I was certain they existed. In the end I just took the easy though somewhat expensive option and brought them through ebay. Ebay is no always a bargain particularly if you take into account postage. I also had to buy 10 when I really only needed 3. But the others can be used as the manufacturer seems to recommend which is to fill with lollies or treats to hang from the tree.
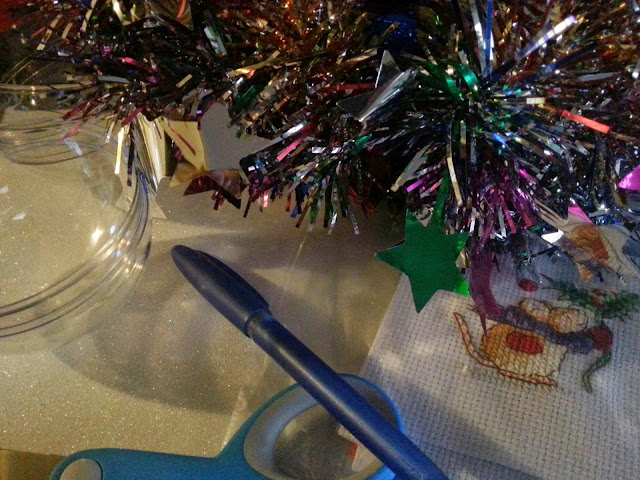
I did want to use 'Iridescent Easter grass' for the other side of the bauble but you may notice that it doesn't happen to be anywhere near Easter so settled on tinsel instead. Correct festive season and locatable in abundance at a shopping centre near you!
Tinsel
White Sparkly adhesive foam
White Sparkly adhesive foam
A pen
Pair of scissors (a Stanley knife would do the trick too but I've lost mine...after stabbing myself with it. I should maybe not be allowed to play with sharp object without supervision. )
Pair of scissors (a Stanley knife would do the trick too but I've lost mine...after stabbing myself with it. I should maybe not be allowed to play with sharp object without supervision. )
...
And my finished designs of course.
And my finished designs of course.
First I traced around the bauble on the back of the foam making a circle. I cut out three foam circles on the inside of the line, to make them just a tiny bit smaller to fit inside the baubles. I wanted them to fit in comfortably but fixed enough the designs wouldn’t move about.
I then peeled the back of my foam circles and lined up the mouse to sit as much in the middle as possible. I was very glad I chose the 8cm baubles and not the 7.5cm ones I was tossing up with. 8cm gave just enough space to look good but allow the mouse not to have to be crazy precise. 7.5cm would have been frustratingly fiddly.
Please excuse the reflection of my hand in a few of these photo's.


