Friday, 6 March 2015

My First (basic) Granny Square

So today I spent the day hanging out with a friend and attempting to crochet.  I've made chains in the past and a scarf with a pattern I have since completely forgotten how to do but that's the most crochet experience I have. I've always wanted to try my hand at it properly though and today I took my first steps towards being a crocheter by crocheting my first granny square. 

My friend tried to show me as she's been knitting an crocheting for years (though slowly as the rug she started for her first child is still only 1/3 or so done at the birth of her third child shows) but we decided a youtube tutorial would walk me though it better and include an actual 'pattern' to follow. 

Thank you youtube :)

My granny square was created using this tutorial 'Crochet: How to crochet a granny square for beginners' by Bella Coco on youtube. Much appreciated.  I am eternally grateful for all the generous crafty people out there who take the time to share their skills, knowledge and designs on the web. It is such a great resource for learning new things that would otherwise be potentially hard to learn without a mentor.  

I had A LOT of false starts but the good thing about crochet is you can just unwind it and try again. And again. And again. As many times as you need to. And the same for the youtube video, rewind, repeat and try again. 

I used a 4mm hook and some generic acrylic wool that had been floating around  not being used for forever and a day. I had to stop and start the tutorial as I went along just so I could work on it at my own pace. But doing that seems to work well for me and I was able to complete my square with not too much fuss.

So behold my first granny square!
Hopefully it will become a rug one day. Hopefully.  

And here's one my friend made. She gave me it plus the wool used to be added to the eventual rug. So two whole squares done.  Only...??? left to do.

A couple of WIP shots:
  

Saturday, 28 February 2015

Dimensions Daydreams Collection, Birds and Swirls

I picked this one up from 123stitch.com and finished it fairly soon after I received it.This design is from the same collection as the White Orchid I completed in June 2014. All the comments I made then regarding the ridiculous prose on the box remains unchanged. But the designs are nice and the kit has everything you need so it's forgiven for giving me the giggles every-time I think about its sales pitch. 

The kit contains thread and needle, fabric, glass pane, mat and backing board, 4 frame clips, and instructions. The total size is about 20x20cm. 

The stitching for this one was fairly straight forward. I had to do only minimal frogging and my only freak out was when I thought I'd lost one of the frame clips. (I had just fallen out in the the bag I was carrying the kit in.)

I do hated lazy daisies though. Every time I'd get one just right I'd set the kit down to check my chart for the next stitch and promptly yank the petal through. Did it so many times :( In the end I wasn’t happy with the daisies but I wasn't going to redo them either. They were good enough to live with.

The finished product:
Now living on my nan's mantelpiece across from the white orchid

The work in progress shots:

Monday, 16 February 2015

Bijoux Porcelain

I decided to do a couple of day courses at the  Centre for Adult Education (CAE) in Melbourne to explore some possible new hobbies. Some include photography with Terry Murphy, walking tours around the city and in this case some Bijoux pottery with Steven McClure

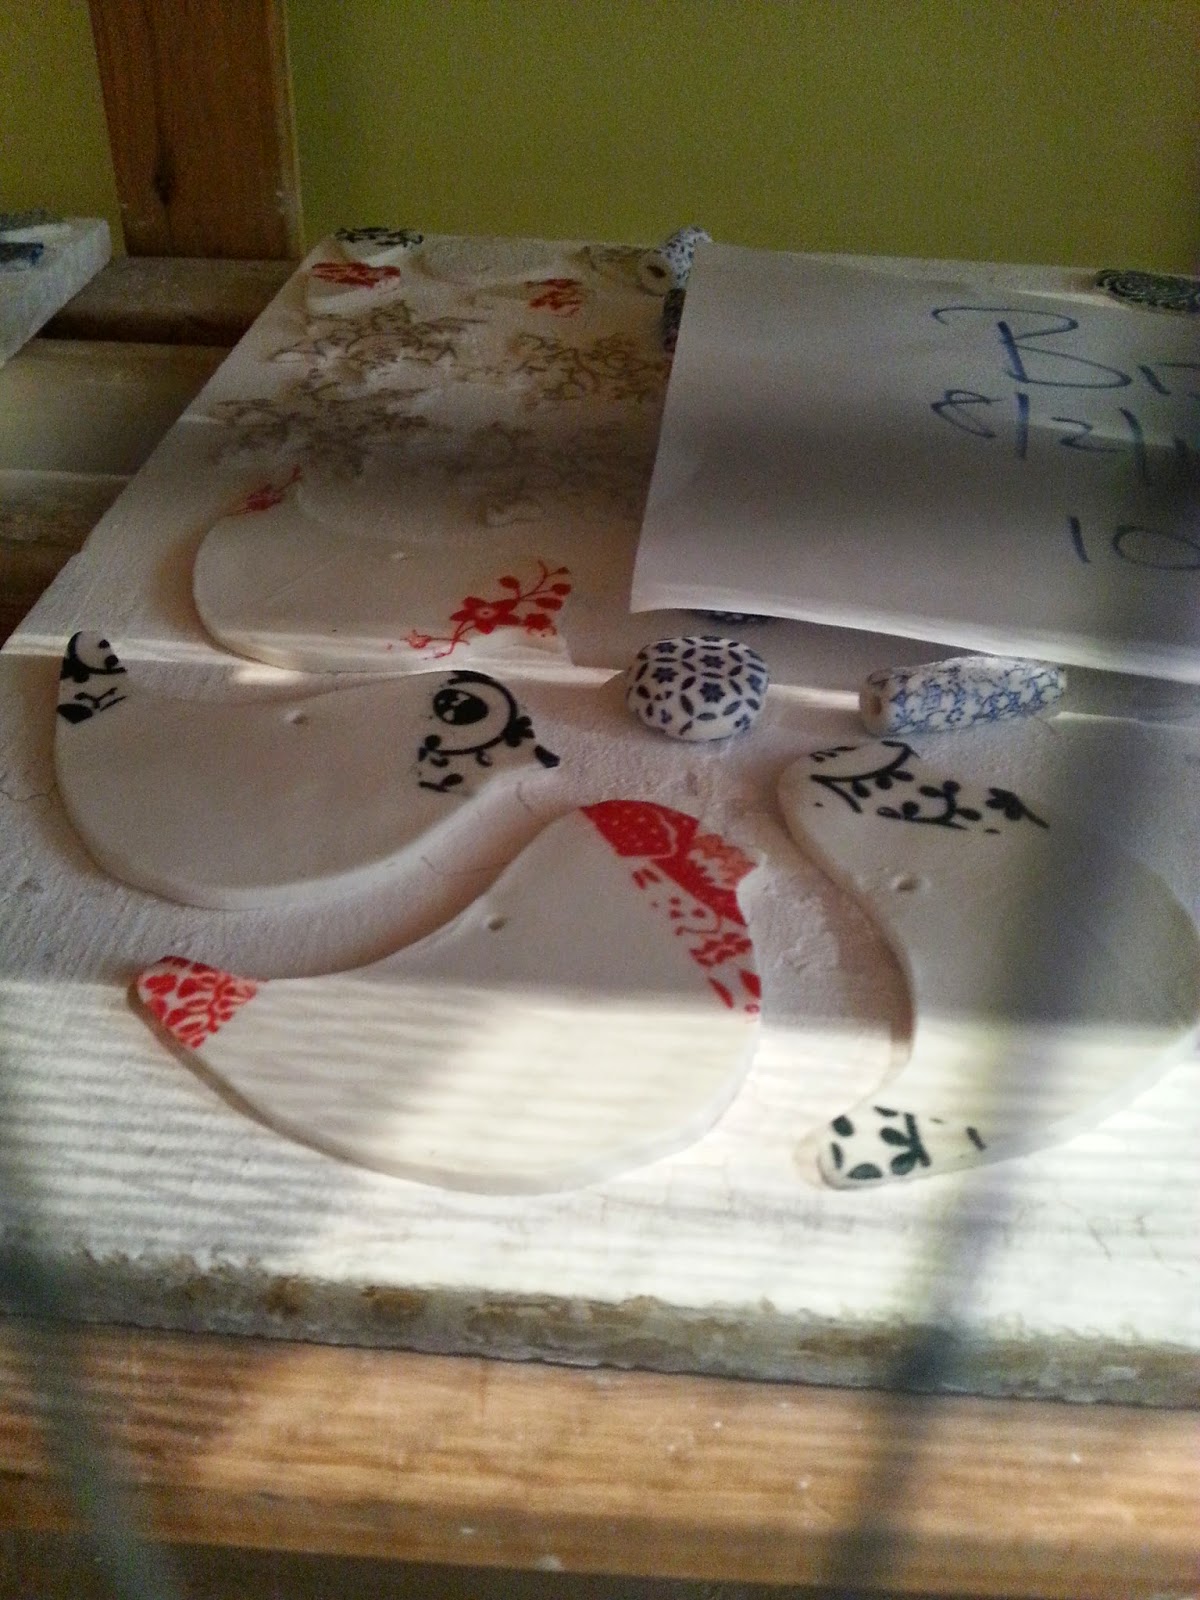
Bijoux Porcelain is Japanese Tissue Transfer decoration and is very straight forward and not at all difficult. You roll out your porcelain, cut your chosen shape and then wet down your chosen transfer paper onto the clay. And pretty much done. Unless you stick your transfer on upside down...which I did. But only once and in the end the design still showed up okay (it was the itty bitty rectangles you can see towards the bottom right of my picture.)

Definitely a nice day course to take for something a little different but still stress free. And at the end you have whatever you made to be turned into brooches, jewellery or decorations for yourself or for gifts. The class included a very brief history of porcelain, instructions about what to do and then we were let loose to do what we wanted with Steven watching on, giving tips and assistance as required. 

We could create as must as possible in out allotted time and the course fees were inclusive of all the materials we needed and the firing.

And behold my creations @@!

The buttons on the left are extreme rush jobs, I wanted to get as much out of the class as possible.They turned out okay though some of the button holes are a bit squished none are fully unusable.

My work and someone else’s; 
placed onto the firing tray ready to go in the kiln:
 
And a week later ready to be picked up.
I don't have a photo of mine (thought they looked much and much as the unfired pictures above just whiter) but here is some by other's in the class, really such a good idea for Christmas decorations. You can also make beads as shown below.


Sunday, 8 February 2015

Pretty Colourful City Square

 
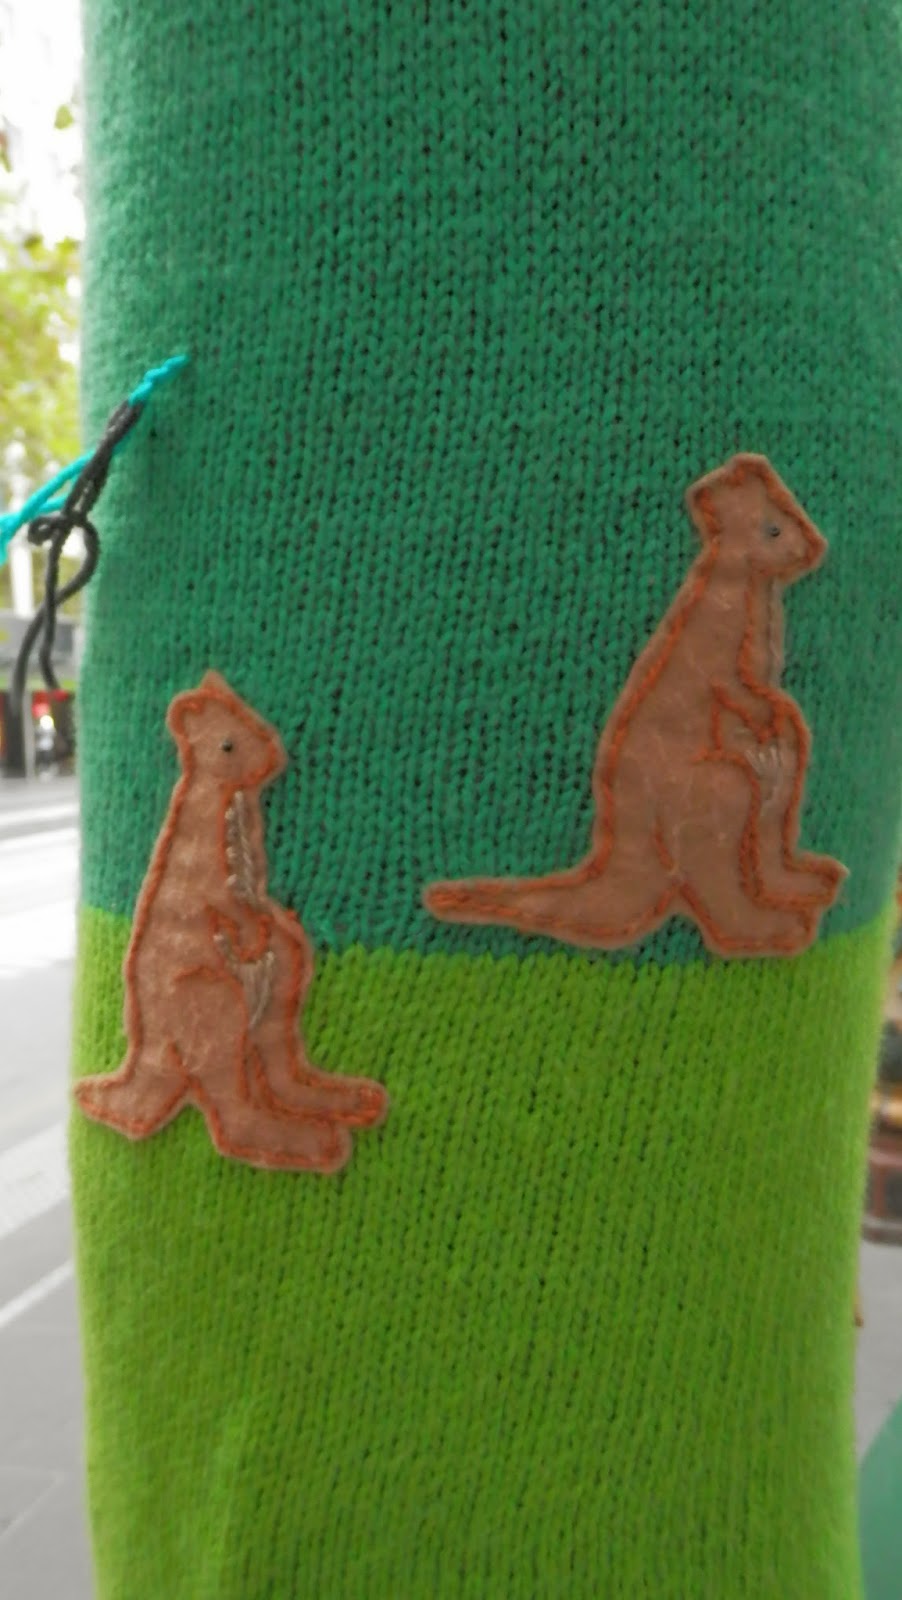
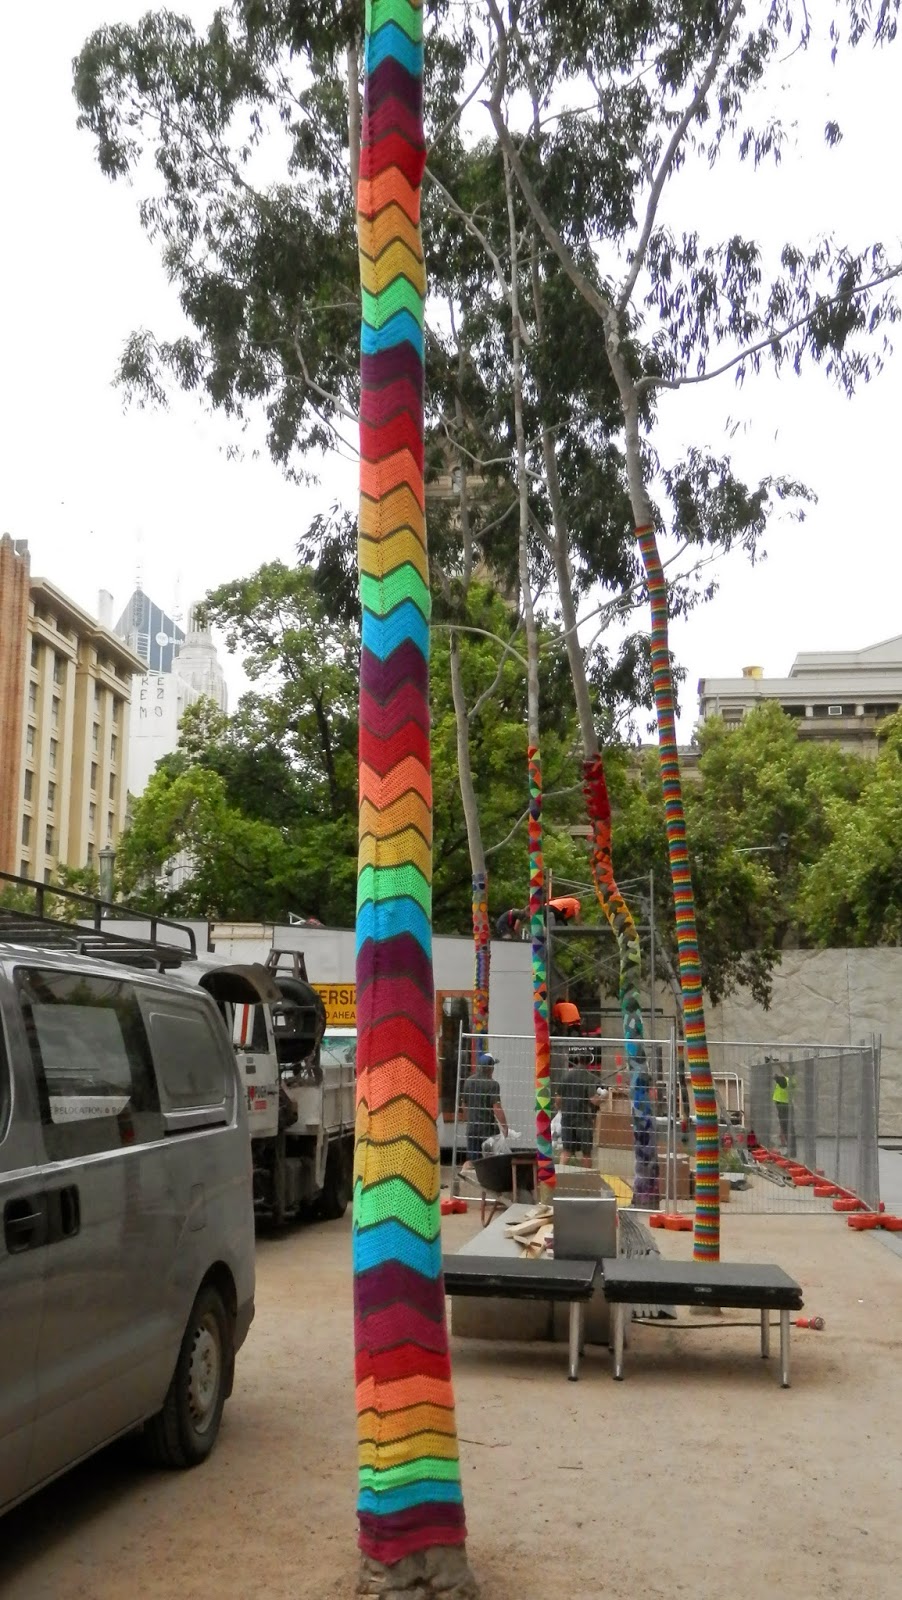
Lots-a photos here. Lots of talented people creating colour and pretties in our drab city square via wool and hard work. I just had to take lots and lots and lots of photos. It was worth it. :) Honestly makes me really want to get my act into gear to learn to crochet. And maybe knit.


Monday, 19 January 2015

Tartan Thistles Scissor keep

Something finished for the new year!

I sort of don't really like the finished product but it'll do the job (hopefully) of stopping me from loosing my little scissors... once I eventually find a pair again to attach.  My house seems to absorb scissors like it's nobody's business hence the need for some scissor keeps.

This is another kit from Textile Heritage (Art Pewter Silver Ltd) like the Tudor Rose one I completed in August 2014. After I finished an gave away the rose I decided I wanted/needed one for myself. I like tartan and purple so this one seemed like a safe bet at the time. I might have to do a Tudor Rose for myself in the future since I liked the finished product  significantly more than the Thistle.

I haven't had a lot of free time to stitch lately and I don't think that's going to change. I did think I might get some more stitching time by taking it to work and doing a little bit of work during my breaks. Valid idea but didn't really work.  First I accidentally stitched the 'grey' stem on the thistle with the white instead of grey.  In my defence the grey in the kit looks very much like a shade of green, at no point did I look at the 'grey' and go 'yes you are clearly the grey in this kit'. Instead it was 'well you're not any of the other colours, must be the grey...' I notice fairly quickly so only had to pull out around 10 minutes of work. Frustrating none the less. 

I also managed to get a drop of green tea on the Aida, hazards of stitching during my tea break. Fortunately not on the design but it convinced me that stitching at work wasn't really going to work. Green tea sure can stain.

On a whole this stitch was actually fairly dull. Doing the tartan background felt way too much like hand sewing (which I might possibly hate) and there was a fair bit to do. I'm not really a fan of hand stitching, that's one of the reasons I have a sewing machine.  Nothing in the design really stood out, this is probably part of why I'm ambivalent about the finished product.  

The tassel I made is fairly average and set too low. It should be sewn in much closer to the cross stitch. Again I stitched up the hole used for stuffing like a noob. It looked pretty average. One day I'll have to get some finishing advice for projects like this so it can look nice all round. 

But after all that complaining it's done and will be organisationally useful so time not wasted. 


***And here it is in my handbag on the way to work with my random golf ball!***

Sunday, 18 January 2015

Happy New Year.

I haven't been doing a lot of craft this year, been busy with trying to be healthy and with work. I did finish a cape but it was a gift and unfortunately I don't have any photos at this time - if I ever manage to get some I'll do a post.

I should finish something soon BUT until then I'll leave the internets with another cute cat picture.

He he, silly kitty.